Concrete Pouring 101: Expert Tips for Stronger Slabs
So, you’ve decided to add a new concrete sidewalk or a patio to your Helena home. Maybe you’re tired of trekking through the mud to get to the grill, or perhaps you want to boost that curb appeal before the next hiking season starts on Mount Helena.
Whatever the reason, you’re probably asking yourself: "How hard can it be? It’s just wet rocks and sand, right?"
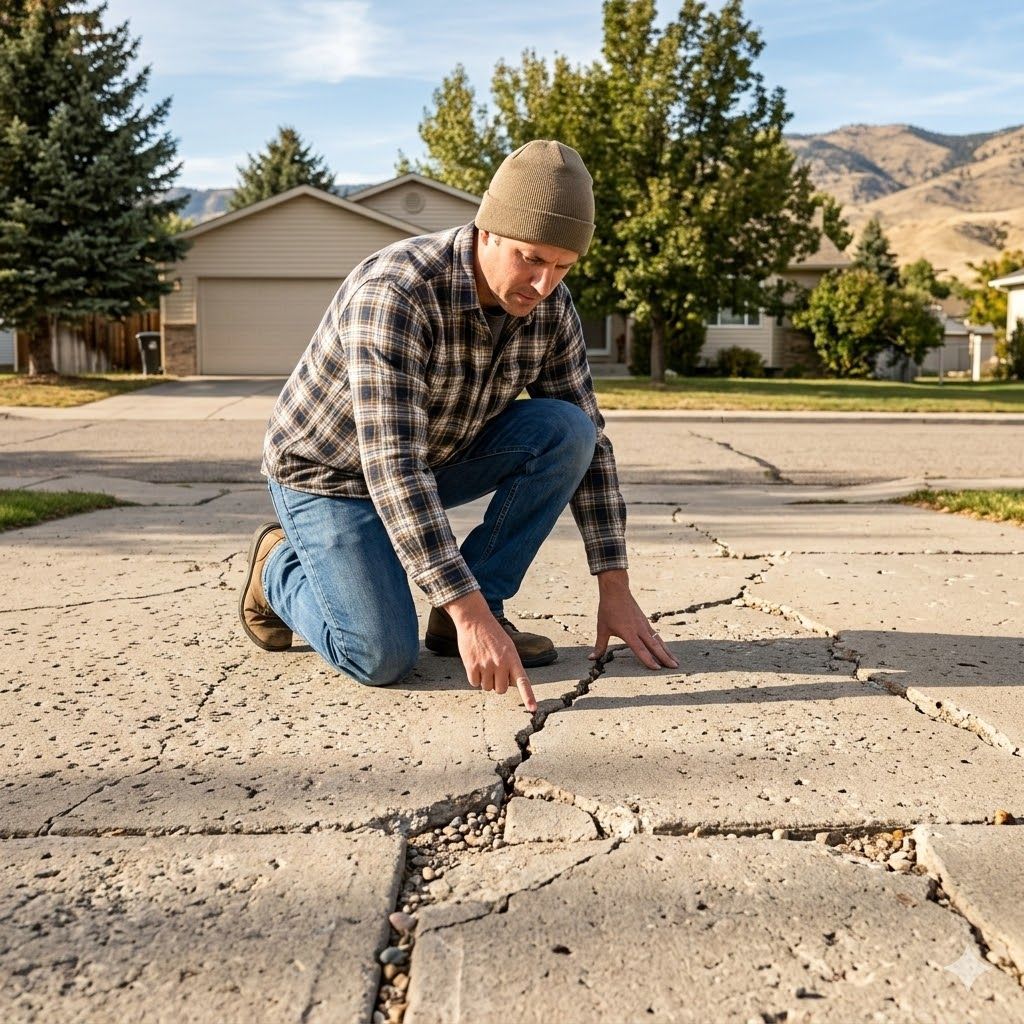
Well, yes and no. Pouring concrete is a bit like baking a cake—if you mess up the ingredients or the "oven" temperature (in this case, the Montana weather), the whole thing can crumble. In our neck of the woods, we deal with a brutal freeze-thaw cycle that loves to turn a beautiful concrete sidewalk into a jigsaw puzzle of cracks within just a few years.
In this guide, we’re going to give you the "secret sauce" for
concrete pouring that results in slabs so strong they’d make a mountain goat proud.
1. It All Starts Under the Surface (The Subbase)
The biggest mistake homeowners make is thinking the concrete is what holds the weight. It isn’t. The ground under the concrete does the heavy lifting. If you pour a concrete sidewalk directly onto Montana’s shifting clay or loose soil, it’s going to fail.
Expert Tip: You need at least 4 inches of compactable gravel or crushed stone. This acts as a drainage layer. When the ground freezes in January, that gravel allows for a little bit of movement without snapping your slab in half. We call this the "cushion," and without it, your concrete installation in Helena is on a fast track to a repair bill.
2. The "Recipe" for Success
Not all concrete is the same. When you’re looking at concrete pouring for a walkway or patio, you want a mix with a high PSI (pounds per square inch). For Helena’s climate, we recommend a minimum of 4,000 PSI.
But here is the real secret:
Air Entrainment. This sounds like a fancy science term, but it’s just tiny microscopic bubbles mixed into the concrete. These bubbles act like tiny "shock absorbers." When water gets into your
concrete sidewalk and freezes, it expands into these bubbles instead of cracking the concrete from the inside out. This is the secret to a crack-free concrete driveway and sidewalk.
3. Don't Be Afraid of the "Ribs" (Reinforcement)
If you want a slab that lasts 30 years instead of 5, you need to give it some "bones." We’re talking about rebar or wire mesh.
- Rebar: Best for driveways or heavy-load areas.
- Wire Mesh: Great for a standard concrete sidewalk.
- Fiber Reinforcement: These are tiny plastic or glass fibers mixed right into the concrete. They help prevent those small "hairline" cracks that pop up while the concrete is drying.
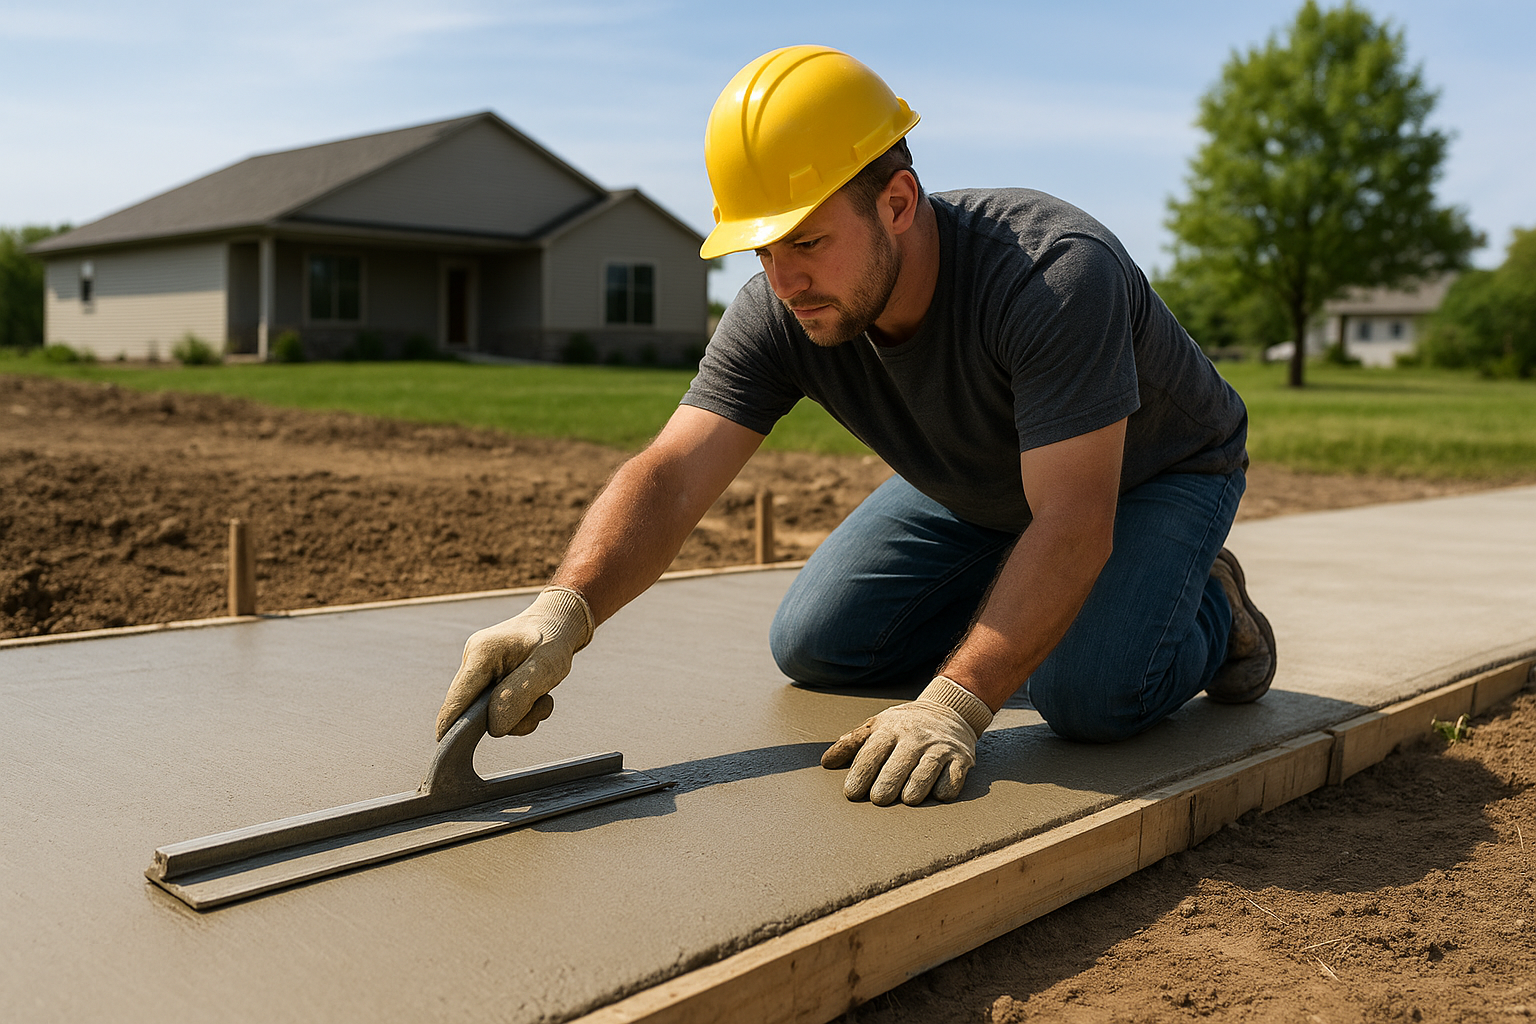
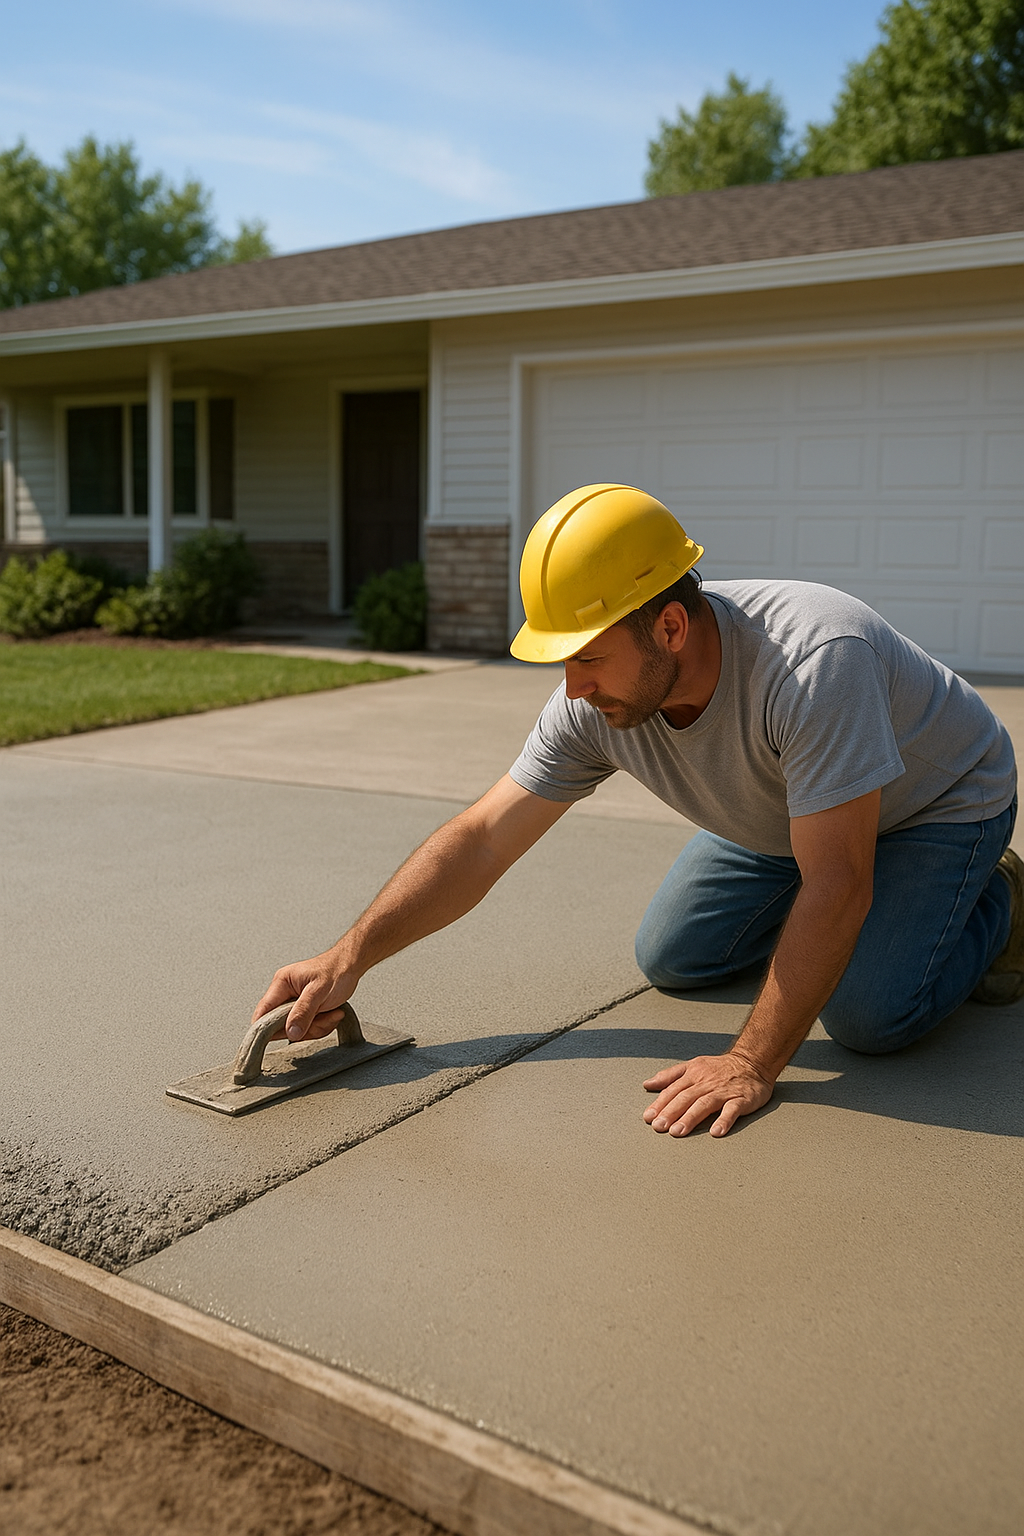
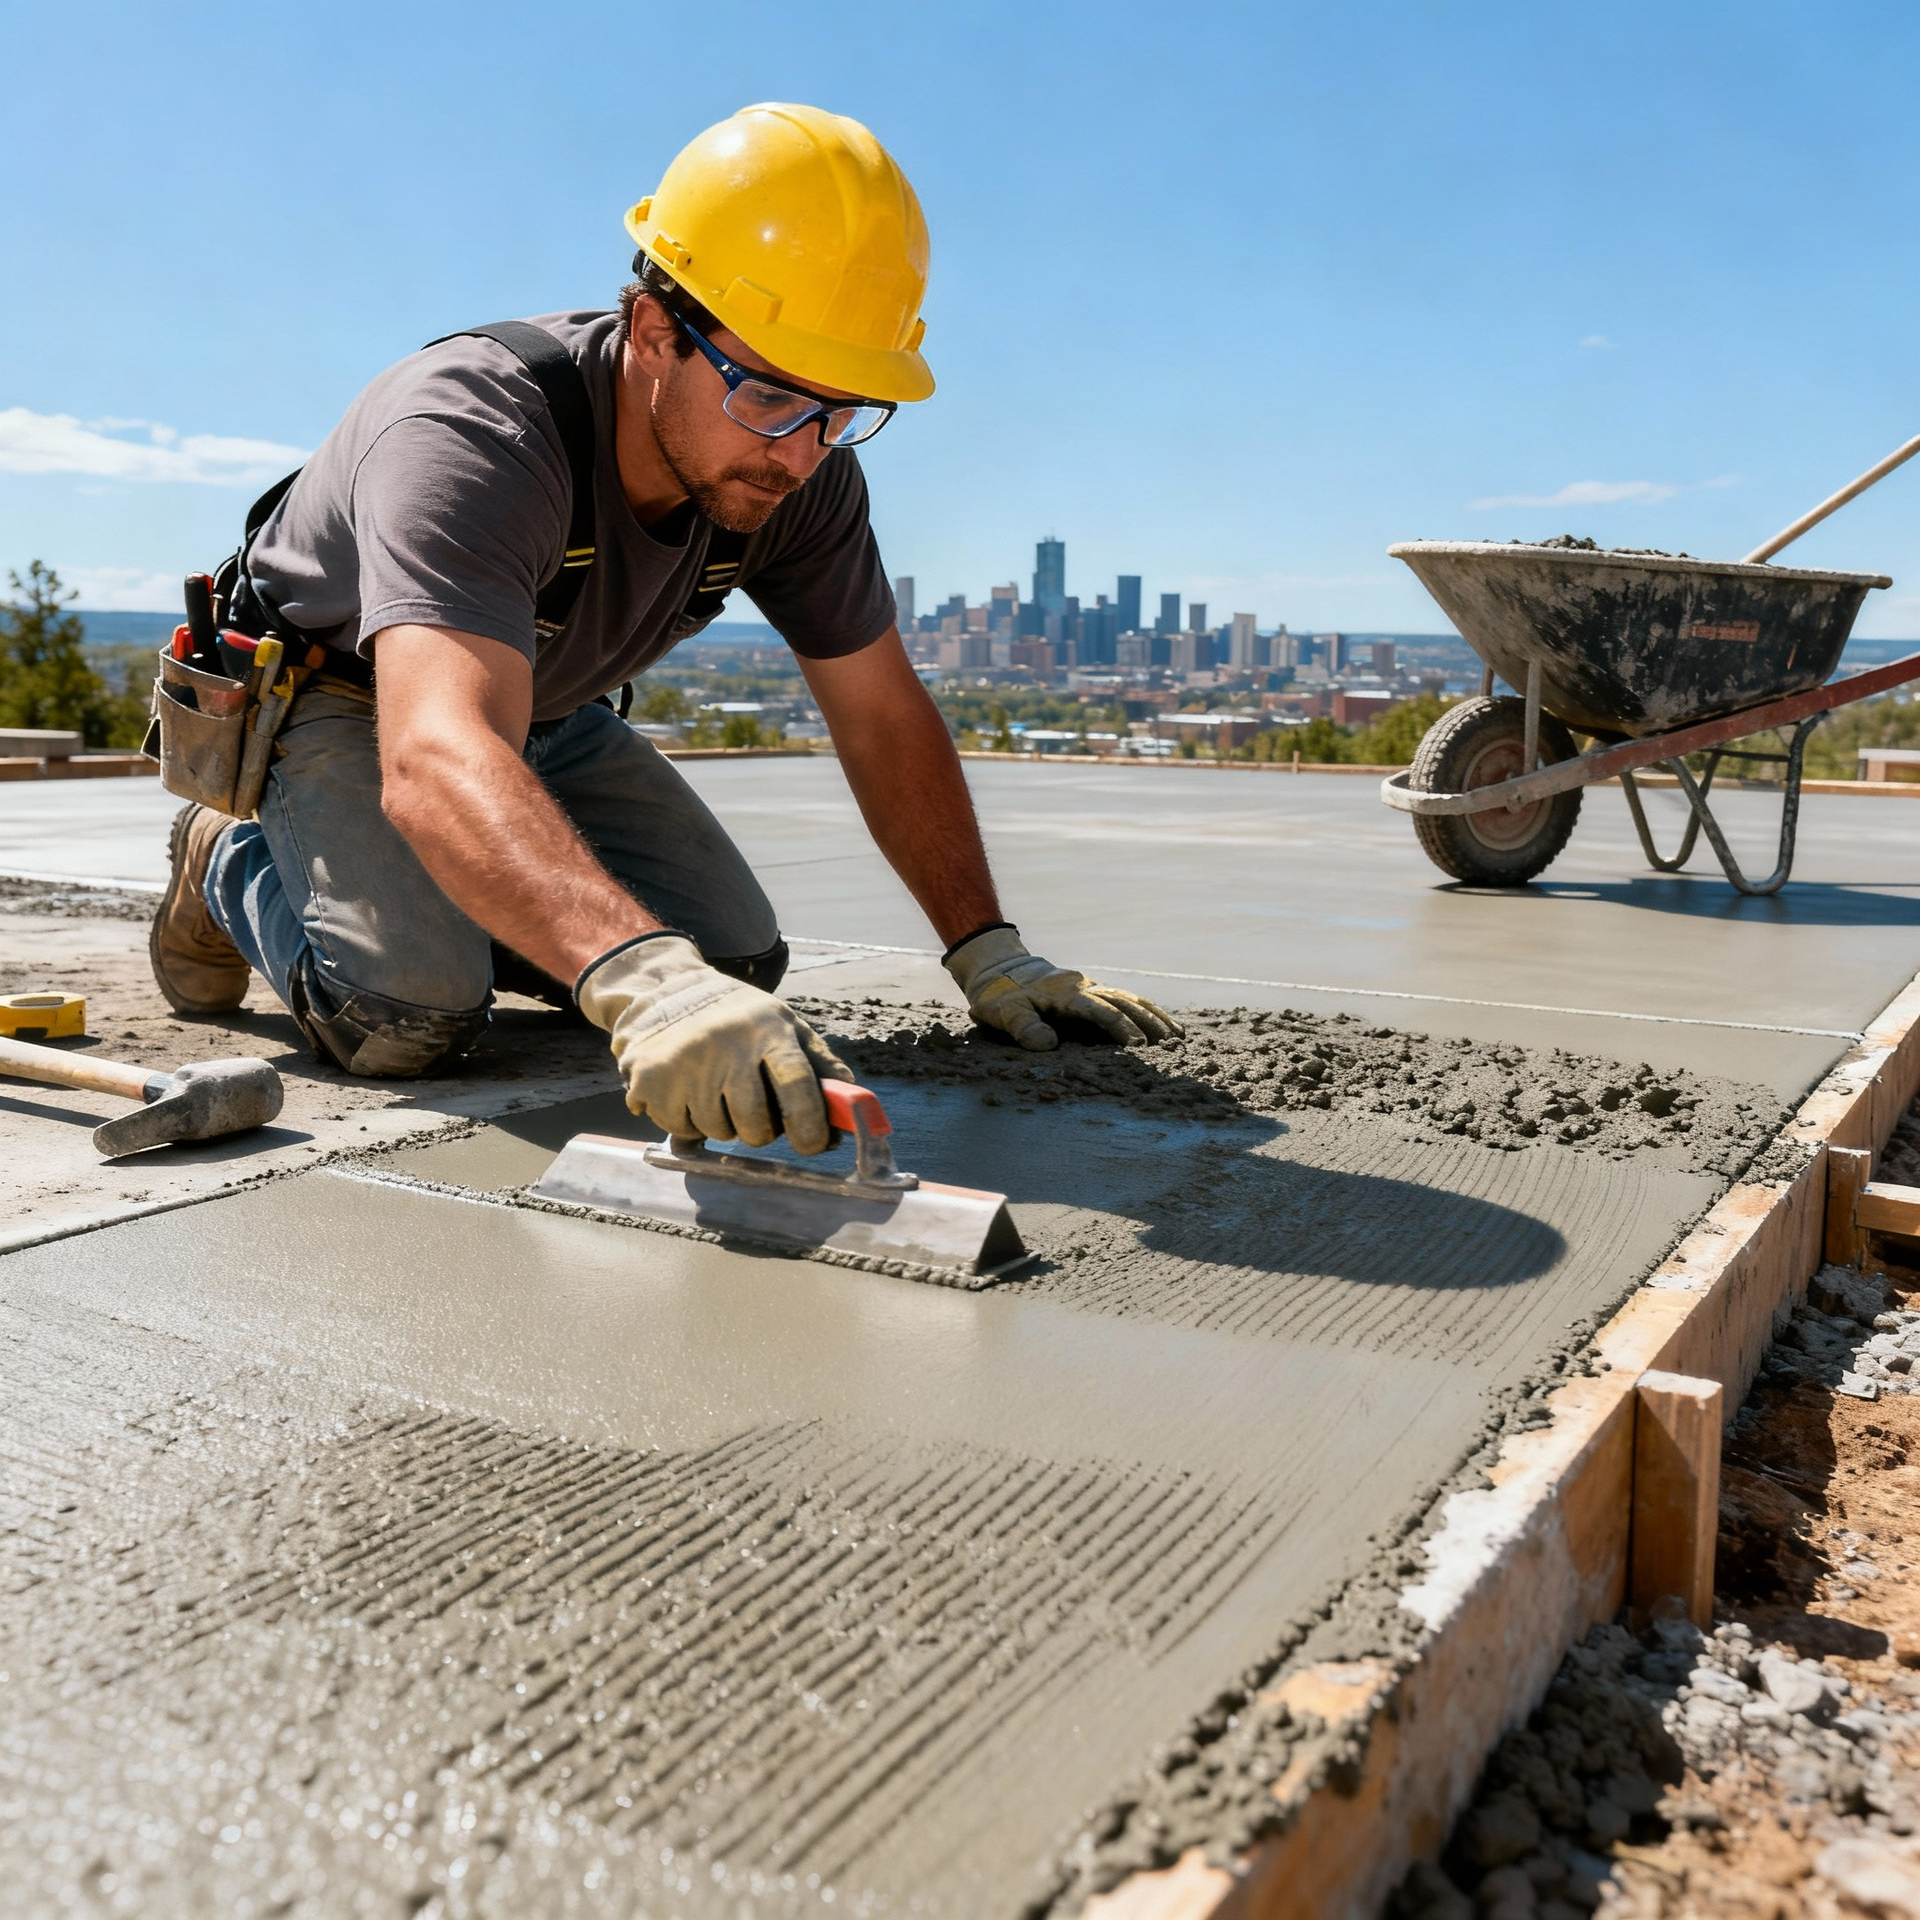
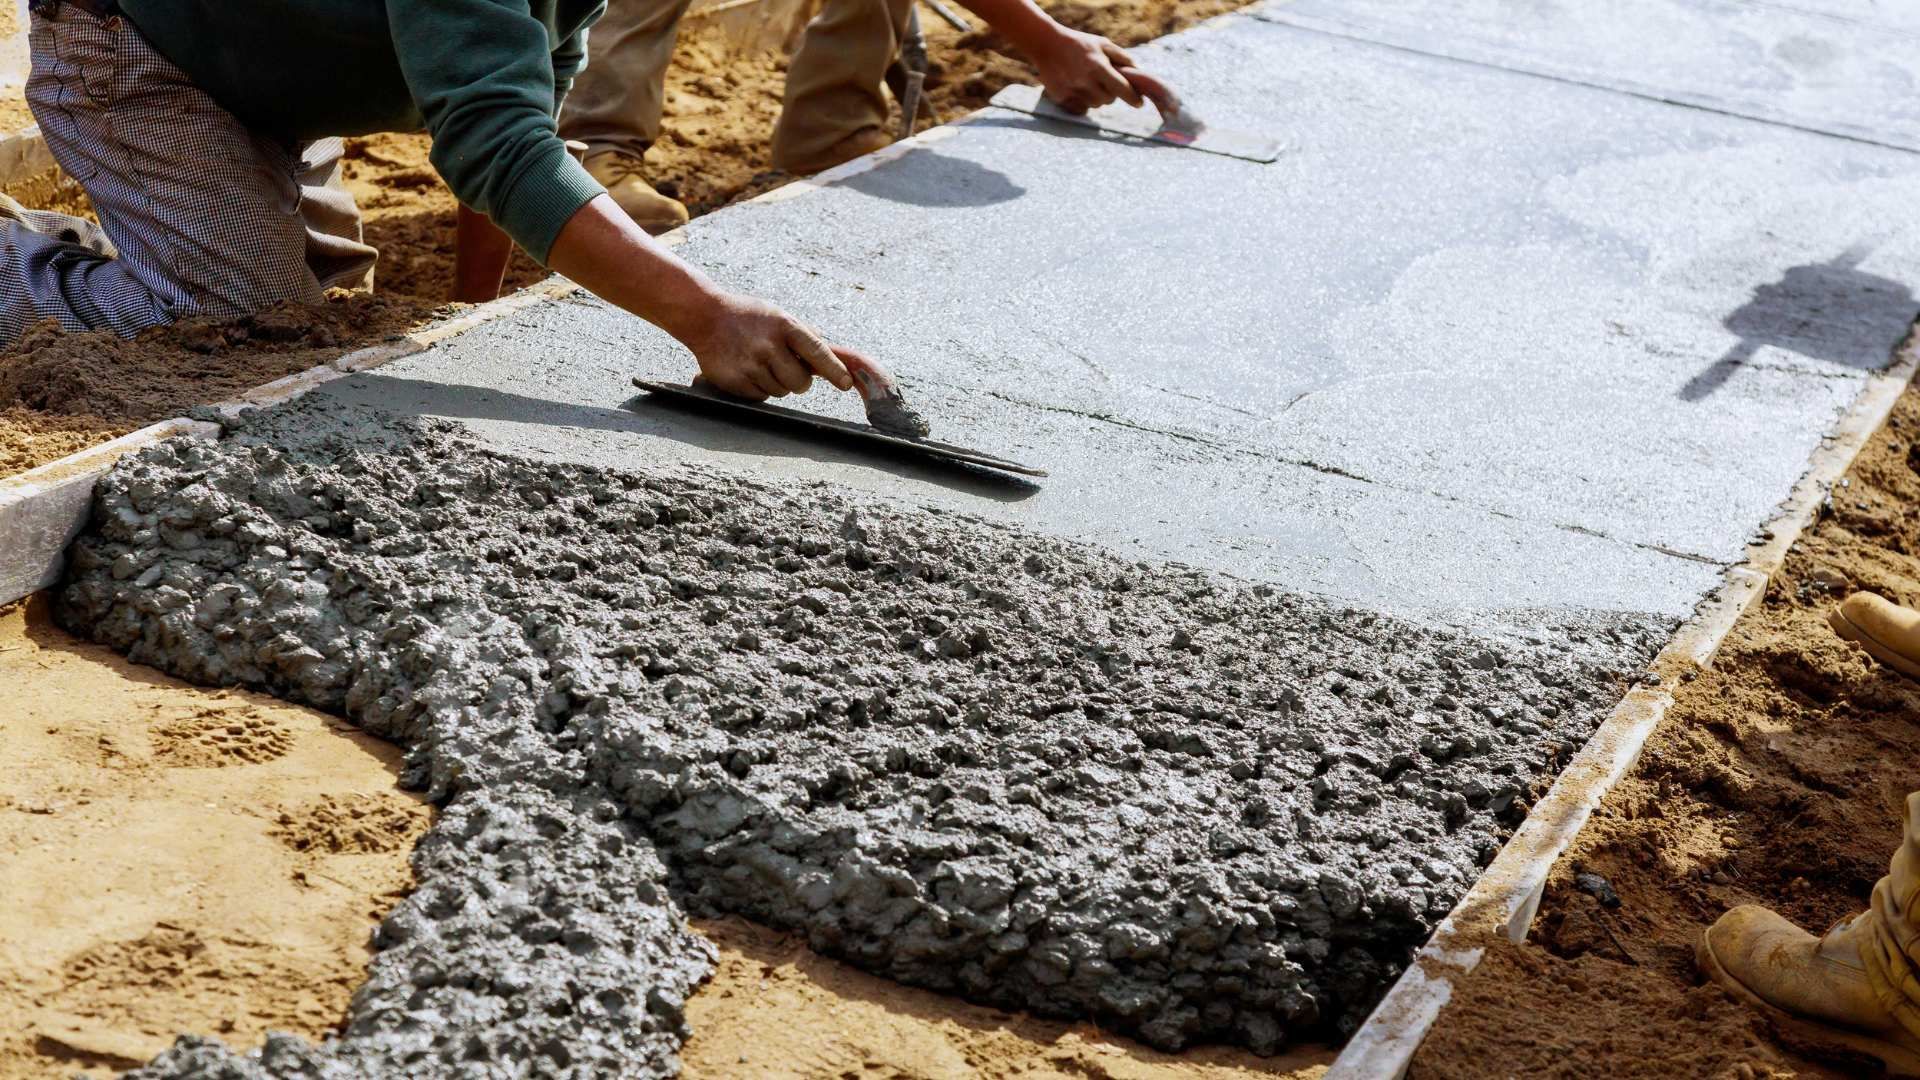
4. The Pouring Process: Timing is Everything
When the concrete pouring service arrives at your house, things start moving fast. You generally have about 90 minutes from the time the water hits the mix until it's too hard to work with.
- Placement: Get the concrete into the forms as quickly as possible.
- Screeding: Using a straight board to "saw" back and forth across the top to level it out.
- Floating: Using a flat tool to push down the rocks and bring the "cream" to the top for a smooth finish.
If you’re doing this yourself, remember: Never add extra water to the truck just to make it easier to spread. This is a rookie mistake that weakens the concrete and leads to "dusting" or flaking later on.
"Concrete is a living material until it sets. You have to respect its timeline, or it will let you know exactly where you cut corners." — Helena Paving Vetera
Here is a "pro" truth: All concrete eventually cracks. The goal of a professional is to tell the concrete where to crack. This is what expansion joints (the lines you see in a sidewalk) are for.
For a
concrete sidewalk, these lines should be spaced about every 4 to 5 feet. They should be cut at least one-quarter of the way through the slab’s thickness. This way, when the slab shrinks or moves, the crack happens neatly at the bottom of that line where you can't see it.
6. The "Magic" of Curing
Many people think that once the concrete is hard enough to walk on, the job is done. This is the most dangerous myth in construction!
Concrete doesn't "dry"—it cures through a chemical reaction. If it loses its moisture too fast (especially on a windy Helena afternoon), it won't reach its full strength.
Expert Tip: After your concrete installation is finished, you should keep it wet for at least 7 days. You can use a "curing compound" or just a garden hose and some plastic sheets. This is how you get a slab that stays strong for decades.
Construction Statistic
According to the American Concrete Institute (ACI), concrete that is kept moist for the first 7 days of curing is nearly 50% stronger than concrete that is allowed to dry out in the open air. In high-altitude environments like Helena, where the air is dry, this step is the difference between a project that lasts and one that fails.
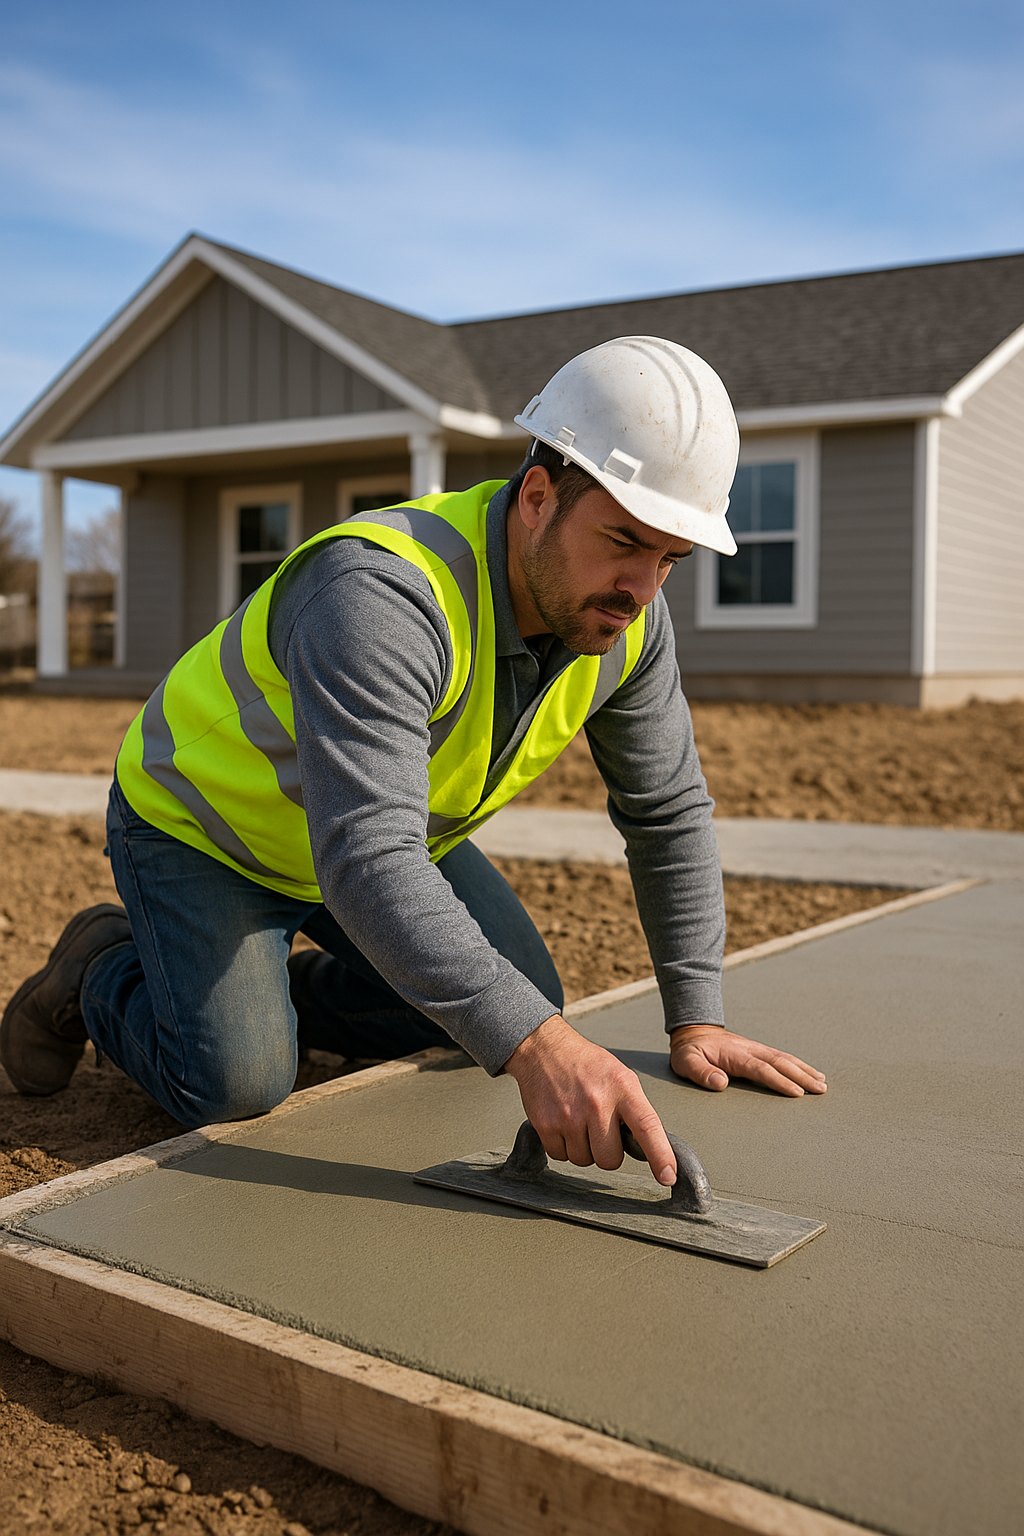
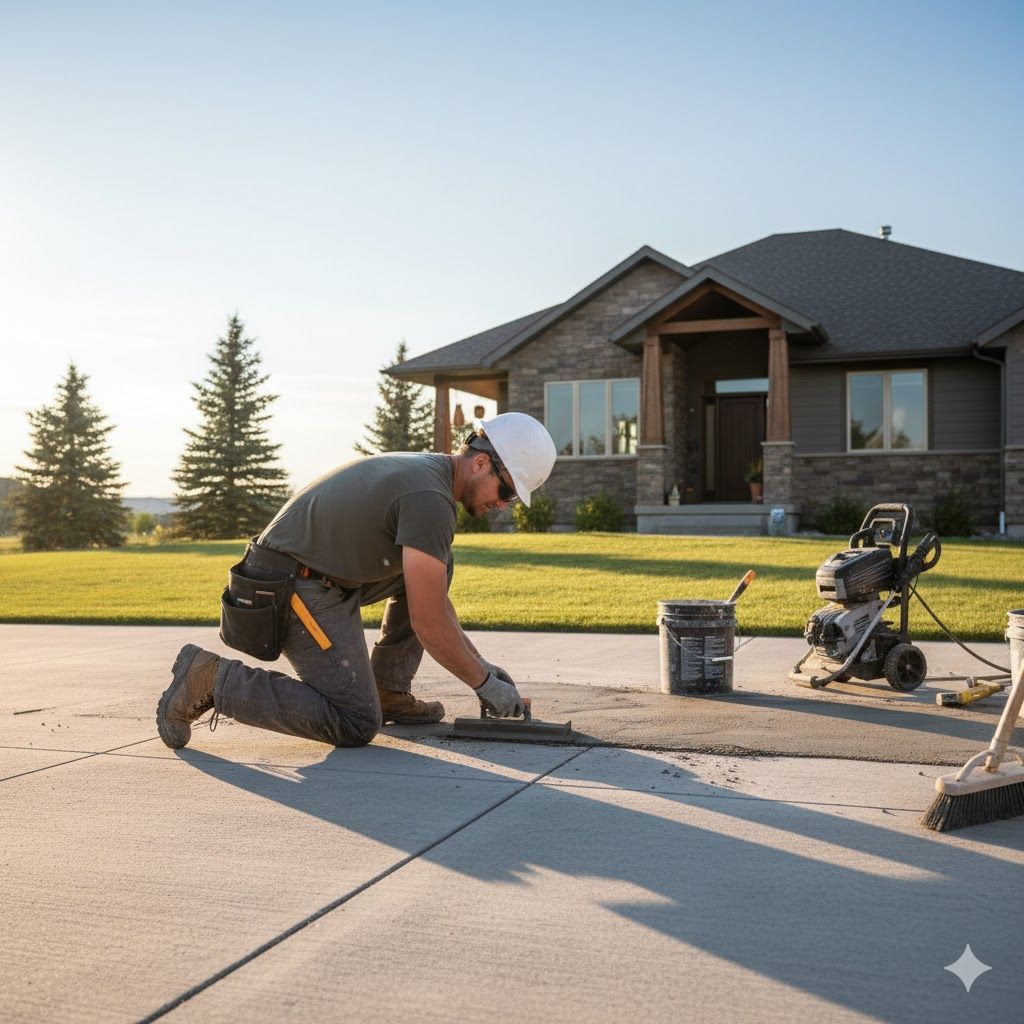
7. When to Call the Pros
We love the DIY spirit in Montana. But concrete pouring is back-breaking work, and one mistake can cost you thousands in removal fees. If you’re looking to increase your Helena property value, sometimes the best move is to bring in the experts.
But how do you find a good one? As we’ve mentioned before, "ghosting" is a huge problem in the trades. When you call a local company, look for:
- A clear, written estimate.
- A portfolio that includes stamped concrete or decorative work (it shows they have a high attention to detail).
- Someone who understands the steps to professional concrete resurfacing if you aren't doing a full replacement.
FAQ: Concrete Sidewalk & Pouring Questions
How long until I can walk on my new sidewalk?
Generally, 24 hours for foot traffic and 7 days for heavy loads (like driving a mower over it).
Why did my concrete turn white and flake off?
This is called "scaling." It usually happens because too much water was added during the pour or because salt was used on the concrete sidewalk too soon after it was installed.
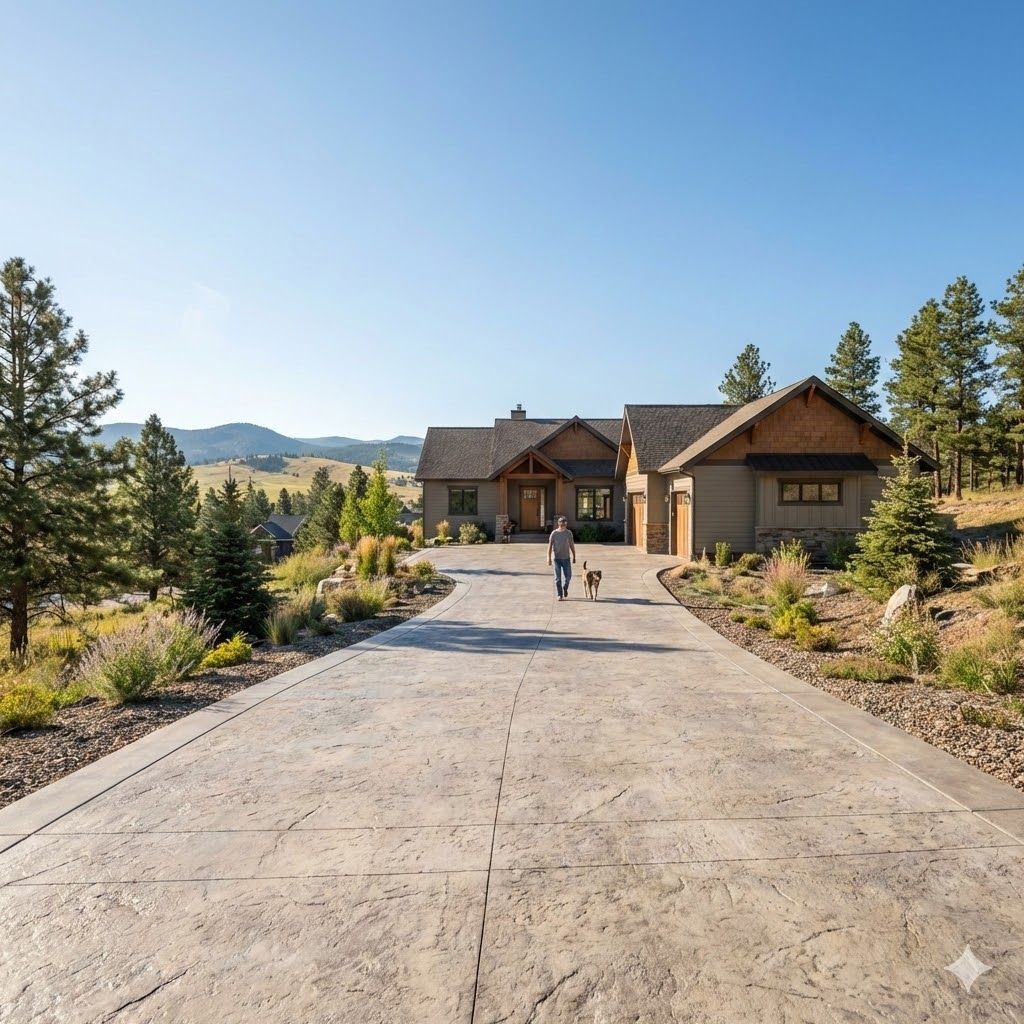
Is stamped concrete harder to maintain?
Not at all! It just needs a good sealer every few years to keep the colors bright. Check out these stamped concrete patterns inspired by Mount Helena for some inspiration.
Can I pour concrete in the winter?
In Helena? It’s risky. Unless the contractor uses "blankets" and heaters to keep the ground from freezing, we usually recommend waiting for the spring thaw.
Conclusion: Build it to Last
Your home is your biggest investment. Whether you're adding a small path to your garden or looking for creative concrete ideas for your Last Chance Gulch home, doing it right the first time is the only way to go.
By following these concrete pouring tips—focusing on the subbase, the PSI, and the curing—you can ensure your concrete sidewalk stands up to everything the Montana sky throws at it.
Ready to start your next project but want a team you can trust?
At Precision Paving Helena, we pride ourselves on clear communication and rock-solid results. We won't ghost you, and we won't cut corners.
Contact us today for a free quote and let’s build something together!